Q1, chapter 1: Configure a VPS with Docker and reverse proxy
This is not world's best guide on 'how to set up a vps', this is a log of someone trying to set up an VPS and making notes along the way.


First off: Why should you move from a managed shared hosting to an unmanaged VPS?
Shared hosting has some benefits: It is cheap, the server is configured for most basic hosting used and probably you get a few snapshots to restore the site to one or more days back. Enough reasons why I have been using it for the past 20 years.
But that's the opposite of the question. Shared hosting is configured to host as many websites as possible without requiring a lot of support and avoiding any secury risks. In other words, the server is running a specific software stack. Also the performance resources you get in your hosting package are shared, if another user is generating a lot of traffic or CPU usage, your website might be impacted.
So switching to a VPS has two benefits: you are not impacted by other users on the server, because the VPS resources should be 100% dedicated to you.
And you can set up the server exactly how you want to and install other software. This website is running on Ghost and does not run on most shared hosting providers. Same goes for selfhosted and more privacyfriendly Google Analytics alternatives like Plausible, Fathom or Umami.
Downside: basicly this comes down to time. If you don't have the time or interest to set up a VPS, then don't start this process. If your website has outgrown shared hosting, find someone to set this up. If you are still reading this, you are probably as stubborn as I am ;-)
Select a VPS & Operating System
So for my first VPS I chose the Starter VPS of OVHcloud for €0,81 a month. It has 1 vCore, 2 GB, 20 GB SSD SATA and 100 Mbps unmetered. This is extremely cheap and the VPS is located in Europe. Perfect for playing and learning. (small note: you can upgrade to other VPSes at any time, but not to the newer VLE-range of OVH).
Are there any hidden costs? At most VPS Providers you can choose an operating system and an additional server management system. Not all are free. Also snapshots/automated backups are priced addons. For now, none is necesary.
For the operation system I'm going with one of the most popular Linux distributions: Ubuntu version 24.04. It might not be the best, but being popular means that it is easier to find solutions for problem we'll encounter on this quest. I did not go for the option of Ubuntu with Docker, if it would be to hard to install Docker on the VPS, I'd better quit this project.
Access to the VPS and some small security steps
You will receive some log in information from your provider. Yay! Now the real project starts.
How do you manage the VPS?
We're going back to basics, you will be working in a command-line-interface: back screen and white text, some of you might remember MS-DOS (I hope my colleagues at R&D are not reading this). And eventhough I will be adding some UI to my VPS, some parts will remain text based.
I will be using PuTTy for this, but other software like OpenSSH or Windows PowerShell do work as well. So info by OVH: (not this blog is not sponsored)
Create a new user
Your VPS has probably a default username, and hopefully a random generated password. In my case the user is ubuntu, fairly easy to guess for bad persons. So first we are going to create a new user, give this one some rights and delete the default user.
Anyways, when logged in to the VPS, run the follow command, where USERNAME is something you like.
sudo adduser USERNAMEYou will be asked to enter a password twice (save this somewhere secure). This new user needs the same rights as your current user, so we add it to the same group:
sudo usermod -aG sudo USERNAMEModify the port number of your VPS
By default you have connected to port 22 of the VPS, this is so standard that this will be another easy target. It is easy to change. We will be opening a configuration file with the nano command, this triggers a text editor.
sudo nano /lib/systemd/system/ssh.socket[Socket]
ListenStream=22
Accept=noFind the line 'ListenStream=22', and change the number to something with 5 digits, but not higher then 65535. A number this high will probably not conflict with another service.
 GeeksforGeeks
Reboot you VPS with the following commands
sudo rebootDelete the old user
Since we've been logged out due the reboot, we have to log in again. But now use you new user and the new port. It is time to delete the original user.
sudo userdel -r -f USERNAMEUpdate and upgrade
Time for a small break. Perfect time to also update the software on the server. Run the following command
sudo apt update && sudo apt upgrade -yIs the VPS now super secure?
No. It is enough for now, will update this later, but you can read more here:
Install Docker
In the last step of this process I will install Docker Engine on this VPS. With Docker you can run multiple services on the same VPS, but in a small dedicated and isolated environment: a container. Yes, you can compare it you a huge cargo ship with a lot of containers.
I followed the standard steps on the official Docker site. Four different ways are documented. It tried once the 'convenience script', but ran into isssues where the Ubuntu version was not correct detected. The Set up and install Docker Engine from Docker's apt repository worked perfecty.

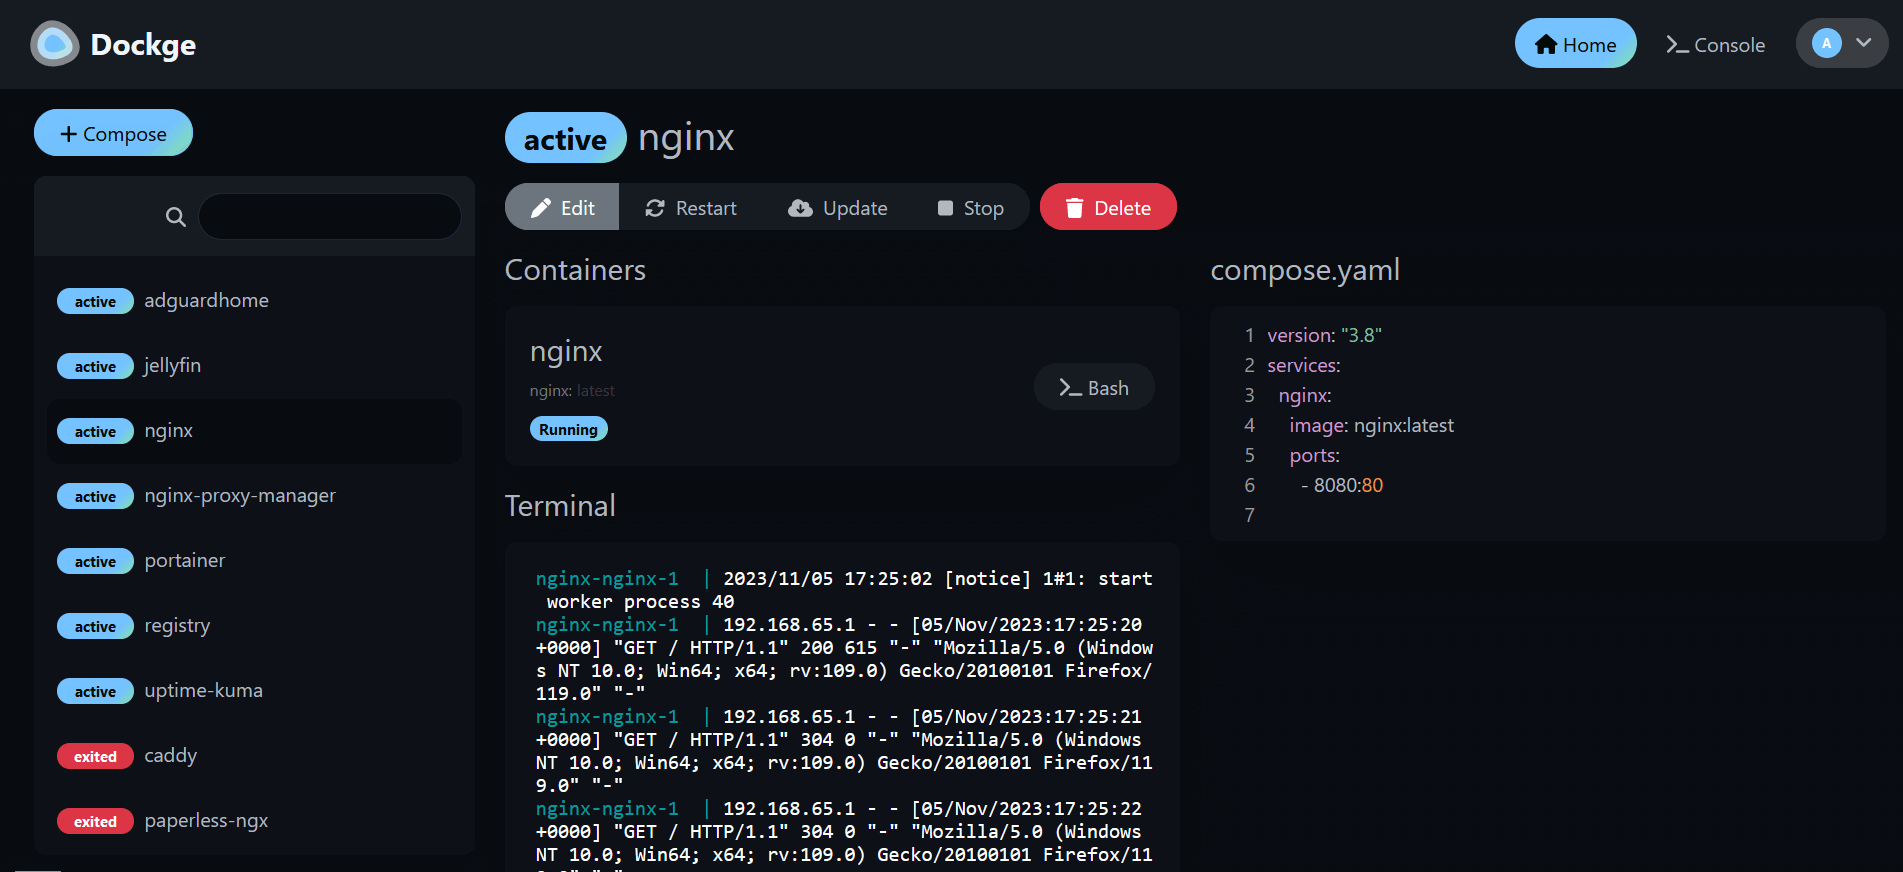
Add an interface to Docker with Dockge
You can manage all containers in your Docker environment with the command-line-interface. But to make it a bit easier I'll add an interface. One of the most popular interface is Portainer.I've checked this briefly, but decided to go with a more basic, yet still effective Dockge.
The instalation is simple as described on:
After completing these steps, Dockge will be available on http://IPADDRESS:5001
Time to install our first container: Nginx Proxy Manager
With Nginx Proximanager it is possible to assign domains to containers and provide on SSL-certificate to them.
Again the installation is simple, but will even be simpler as we will be using Dockge.
- Head to Dockge
- Click the big blue "+Compose" button
- Give this stack a name.
- Go to https://nginxproxymanager.com/setup/ and copy the yaml info
version: '3.8'
services:
  app:
    image: 'jc21/nginx-proxy-manager:latest'
    restart: unless-stopped
    ports:
      # These ports are in format <host-port>:<container-port>
      - '80:80' # Public HTTP Port
      - '443:443' # Public HTTPS Port
      - '81:81' # Admin Web Port
      # Add any other Stream port you want to expose
      # - '21:21' # FTP

    # Uncomment the next line if you uncomment anything in the section
    # environment:
      # Uncomment this if you want to change the location of
      # the SQLite DB file within the container
      # DB_SQLITE_FILE: "/data/database.sqlite"

      # Uncomment this if IPv6 is not enabled on your host
      # DISABLE_IPV6: 'true'

    volumes:
      - ./data:/data
- ./letsencrypt:/etc/letsencrypt- Paste this in Dockge in the right text editor over all information that starts with version: '3.8'
- Click Save and click Deploy. The interface will show that it is pulling the container images.
- Head to http://IPADDRESS:81/login and log in with Email: admin@example.com & Password: changeme.
- You will be prompted to change this
Yes! Finished!
I've now configured my VPS and will be able to start a Ghost website in the next steps.


